Manual Mode Overview
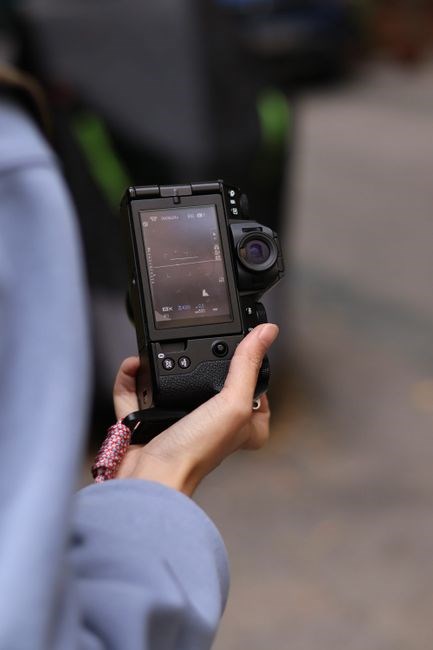
Manual mode grants photographers full control over exposure settings, letting them set aperture, shutter speed, ISO, and focus independently. It is ideal for creative shots, fine‑tuning depth of field, motion blur, and low‑light performance without auto‑assistance. It also supports manual focus ISO.
Definition and Core Functionality
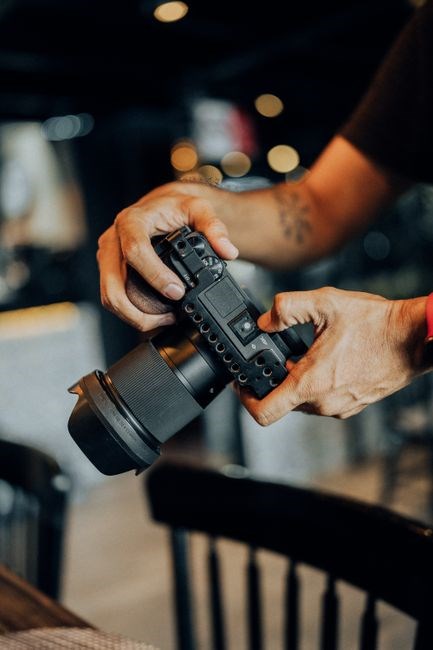
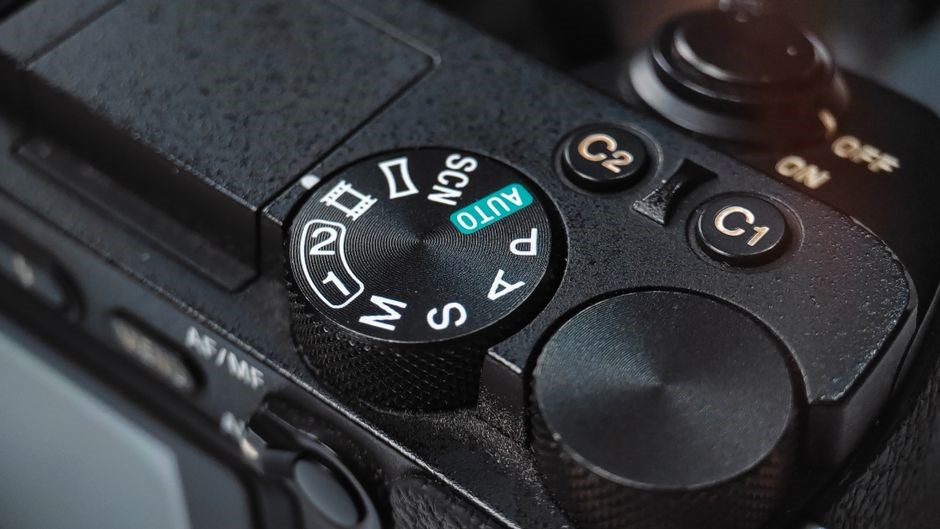
Manual mode, often labeled “M” on modern DSLRs, mirrorless, and advanced compact cameras, removes the camera’s automatic exposure engine. The photographer explicitly sets the aperture (f‑stop), shutter speed, and ISO, and the camera simply records the resulting exposure. This mode is the foundation for creative control, allowing the user to balance depth of field, motion blur, and noise level according to artistic intent.
In practice, the camera’s metering system still reads the scene and displays a histogram, but it no longer adjusts any of the exposure parameters. The photographer must interpret the light meter’s feedback and adjust the dial or touch screen to achieve the desired exposure. Because the camera does not intervene, any change in one setting directly affects the others, making the exposure triangle a core concept in manual shooting.
Core functionality also includes manual focus, white balance, and sometimes exposure lock. By disabling auto‑focus, the user can lock the camera on a specific subject, which is essential for macro, portrait, or low‑light work. Manual white balance allows precise color temperature selection, ensuring accurate tones in challenging lighting. Exposure lock lets the photographer lock the current exposure values and then move the camera without changing exposure.
Mastering manual mode demands a grasp of the exposure triangle. Experimenting with aperture, shutter speed, and ISO lets photographers control light!
Exposure Triangle
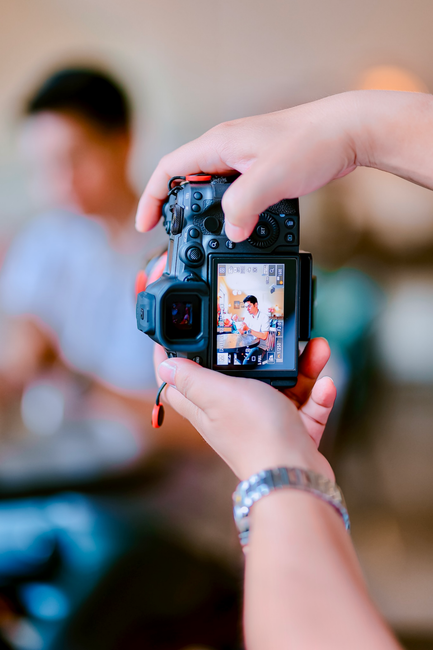
In manual mode, the exposure triangle—aperture, shutter speed, ISO—defines how light enters the sensor. Aperture controls depth, shutter speed captures motion, ISO adjusts sensitivity. Balancing them yields correct exposure and creative control. Mastering the triangle now
Interdependence of Aperture, Shutter Speed, and ISO
When shooting in manual mode, the three core exposure elements form a tightly coupled system. Aperture, measured in f‑stops, dictates the amount of light that reaches the sensor and the depth of field. Shutter speed, expressed in fractions of a second, controls the duration of exposure and the capture of motion. ISO, the sensor’s sensitivity setting, amplifies the incoming light signal. Altering one of these variables forces a compensatory adjustment in at least one of the others to maintain a balanced exposure. For instance, narrowing the aperture to increase depth of field reduces light intake, necessitating either a slower shutter speed or a higher ISO to preserve brightness. Conversely, widening the aperture allows for faster shutter speeds or lower ISO, which can be advantageous for freezing motion or minimizing noise. The relationship can be visualized as a triangle: each side represents a variable, and the sum of their adjustments must equal the desired exposure value (EV). Photographers often use exposure calculators or the camera’s built‑in exposure meter to determine how many stops to shift each parameter. In practice, a common strategy is to keep ISO at its lowest native value to avoid noise, then adjust aperture for depth of field, and finally set shutter speed to control motion. This hierarchy ensures that the most noise‑sensitive variable remains stable while the others compensate. Understanding this interdependence is essential for mastering manual mode, as it allows for deliberate trade‑offs between image sharpness, motion portrayal, and image noise, ultimately enabling creative control over every shot.
Aperture Control
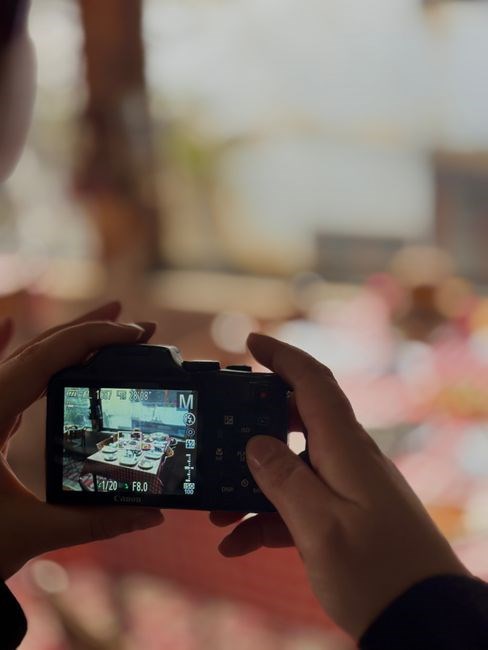
Aperture determines light intake and depth of field. In manual mode, selecting a wide f‑stop (e.g., f/2.8) floods the sensor, ideal for portraits, while a narrow stop (e.g., f/16) limits light, useful for landscapes. Adjusting aperture shifts exposure, requiring shutter or ISO compensation. Keep. Learn
Impact on Depth of Field and Light Intake
Aperture size directly influences both the amount of light that reaches the sensor and the extent of background blur, or depth of field. A wide aperture (low f‑number such as f/1.8 or f/2.8) admits more photons, enabling faster shutter speeds or lower ISO settings, which is crucial in bright or low‑light scenarios. The trade‑off is a shallow depth of field: only a narrow plane around the focus point remains sharp, while foreground and background elements become progressively out of focus. This effect is prized in portrait photography to isolate the subject from distracting surroundings. Conversely, a narrow aperture (high f‑number such as f/11, f/16, or f/22) restricts light, requiring slower shutter speeds or ISO to maintain exposure. The benefit is a deep depth of field, keeping most of the scene—from foreground to distant horizon—in focus. In manual mode, photographers must balance aperture against shutter speed and ISO to achieve the desired exposure while controlling depth of field; Using a larger lens aperture also reduces diffraction, preserving image sharpness, whereas very small apertures can introduce diffraction blur. Understanding these relationships allows creative control over both the aesthetic depth of field and the exposure level of each shot. When shooting with a wide aperture, photographers often need to compensate for the increased light by using a faster shutter speed or a lower ISO, which can help reduce motion blur. On the other hand, when using a small aperture, the reduced light may necessitate longer exposures, which can introduce motion blur unless a tripod is used.
Shutter Speed Control
Shutter speed determines exposure duration, allowing motion capture or blur. Fast speeds freeze action; slow speeds create motion trails or low‑light exposure. Manual mode lets photographers set precise values, balancing light intake and creative intent. for all scen
Capturing Motion and Exposure Duration
In manual mode, shutter speed is the key lever for controlling motion in a frame. A fast shutter—such as 1/500 s or quicker—freezes rapid action, ideal for sports or wildlife. A slow shutter—like 1/30 s or longer—adds intentional blur, conveying movement’s velocity or creating light trails in night scenes. The photographer balances exposure: a faster shutter reduces light, requiring a wider aperture or higher ISO, while a slower shutter increases light, risking overexposure of highlights. In low‑light situations, a slow shutter compensates for limited illumination, but sensor noise and tripod use become critical. Manual control allows precise timing: setting 1/125 s for a moderate freeze, 1/10 s for dramatic blur. By adjusting shutter speed independently of aperture and ISO, the photographer can achieve the desired motion effect while maintaining proper exposure, making manual mode indispensable for creative control over motion dynamics. When shooting fast action, a shutter speed of 1/1000 s can freeze even the quickest movements, while a 1/2 s exposure captures the flow of a waterfall, illustrating manual control’s versatility. Using a neutral density filter allows longer exposures without overexposure, expanding creative possibilities in bright conditions. Photographers often combine a tripod, remote shutter release, and careful metering to ensure sharpness and correct exposure. Shutter speed yields striking images bright.
ISO Sensitivity
ISO controls sensor amplification. Higher ISO brightens scenes but adds grain. In manual mode, choose ISO to balance light, shutter, and aperture. Low ISO yields cleaner images; high ISO is useful for low light or fast shutter speeds. Higher ISO adds grain brightens dark!!
Balancing Brightness and Noise Levels
ISO controls sensor amplification. Raising ISO brightens scenes but it also increases the signal‑to‑noise ratio, resulting in visible grain or digital noise. A practical workflow starts by setting the desired exposure through aperture and shutter speed, then selecting the lowest ISO that still achieves the target brightness. If you need a higher ISO, consider using the camera’s noise‑reduction settings or post‑processing tools to mitigate grain. Many modern sensors perform well up to ISO 800 or 1600 with minimal noise, while higher ISO values (3200 and beyond) can be acceptable for creative purposes if the grain is part of the aesthetic. Always test your camera’s noise performance by shooting a series of exposures at different ISO levels in a controlled environment, then reviewing the histogram and image detail. This approach helps you understand the trade‑off between brightness and noise, ensuring that you choose the ISO that delivers the cleanest image for your creative intent.
When shooting in low light, use a tripod or image‑stabilization to avoid camera shake, allowing lower ISO settings. Many cameras offer a high‑ISO noise‑reduction mode that can be toggled on or off; experimenting with these options helps find the sweet spot between clarity and brightness. Review the histogram after exposure to ensure highlights and shadows are balanced, now!!.
Focus Management
Manual focus demands precise distance control. Use focus peaking to highlight edges, adjust focus ring slowly, and lock the focus after setting. In low light, switch to live view, zoom in, and use the camera’s focus assist. This ensures sharpness when autofocus fails. Use magnification for tuning the
Manual Focus Techniques and Focus Peaking
When the camera’s autofocus is unreliable—such as in low‑contrast scenes, extreme lighting, or when shooting at very small apertures—photographers often switch to manual focus. The first step is to activate focus peaking, a feature that outlines the sharpest edges in the viewfinder or LCD. This visual cue allows the operator to fine‑tune the focus ring until the subject’s edges glow brightest. For subjects that are difficult to judge at eye level, zooming in on the live‑view screen magnifies the peaking effect, making subtle adjustments more precise. Some lenses provide a focus‑lock button; after achieving the desired focus, locking the ring prevents accidental drift during exposure. In situations where the subject moves, a combination of focus‑peaking and a low ISO setting can help maintain clarity. It is also useful to practice “focus‑and‑re‑focus” techniques: first set focus on a distant point, then adjust to a closer subject while keeping the same aperture and shutter speed to avoid exposure changes. Finally, remember that many modern bodies allow you to set a focus‑point grid that, when combined with peaking, gives a clear reference for where the camera is looking. Mastering these tools turns manual focus from a tedious task into a creative advantage. When using focus peaking, adjust the color and intensity settings to match the scene’s contrast, and consider enabling a focus lock to maintain precision during long exposures. Focus lock steadies the. Practicing varied lighting improve focus precision.
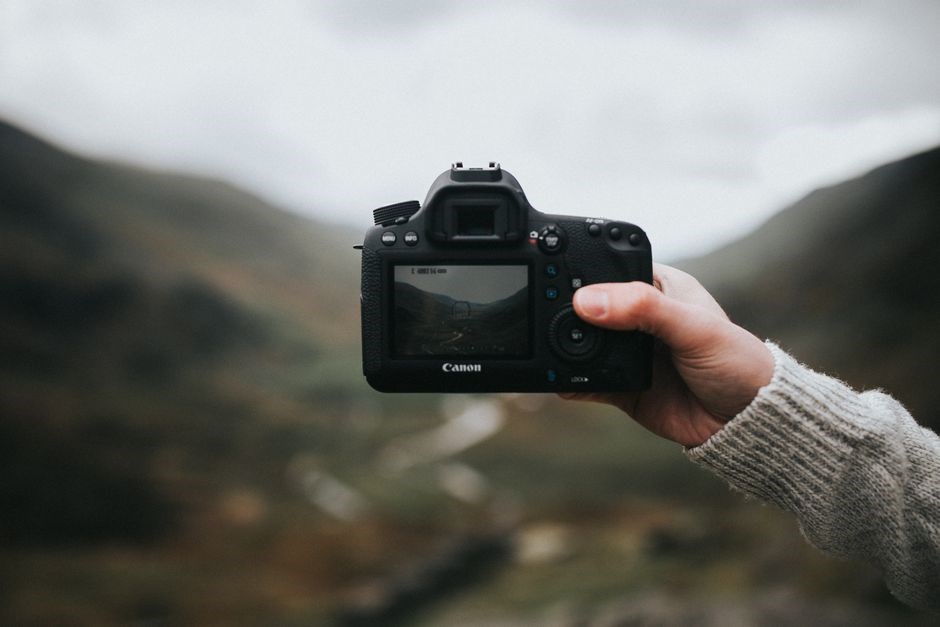
White Balance Adjustment
In manual mode, photographers set the color temperature to match the light source, using Kelvin values or preset scenes. Adjusting white balance ensures accurate hues, preventing warm or cool tints, and preserves true color fidelity across exposures. Color accuracy is key.
Color Temperature Settings for Accurate Tones
Choosing the right color temperature is essential for achieving natural‑looking images when shooting in manual mode. Photographers typically use Kelvin values to specify the warmth or coolness of the light source. Daylight is usually set around 5500–6500 K, while indoor tungsten lighting sits near 2800–3200 K. By entering a precise Kelvin value, the camera’s sensor can compensate for color casts, ensuring that whites appear neutral and skin tones stay true to life. Many modern cameras also offer a “Custom” option, allowing the user to capture a reference white or gray card and have the device calculate the exact temperature. This feature is especially useful when shooting in mixed lighting conditions, such as a studio with both LED and fluorescent fixtures. Adjusting the temperature in small increments—typically 100 K steps—lets you fine‑tune the balance without over‑correction. When working in RAW, you can revisit the temperature in post‑processing, but setting it correctly in the field saves time and preserves the dynamic range. Remember that color temperature is only one part of white balance; the tint slider (often labeled “Green‑Magenta”) corrects any remaining hue shift, completing the color accuracy process. In practice, photographers often start with a daylight preset, then dial down to 4000 K for a cooler look or up to 7000 K for a warmer feel. Some lenses and camera bodies provide a “Kelvin” dial that allows continuous adjustment, making it easier to match the exact shade of a sunrise or sunset. This precise control ensures every exposure reflects the intended mood, giving photographers freedom to experiment without compromising color fidelity.
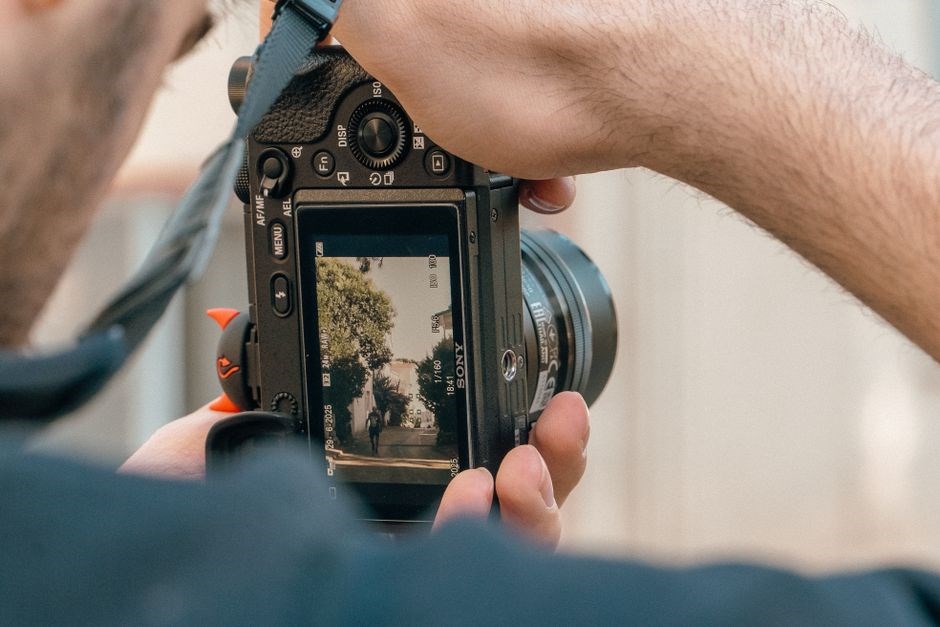
Metering & Histogram
Metering modes—evaluating scene brightness—guide exposure. Spot, center‑weighted, and matrix modes help balance highlights and shadows. The histogram visualizes tonal distribution, revealing clipping or underexposure, enabling precise manual adjustments. for betterexpos!!
Evaluating Exposure and Making Adjustments
In manual mode, the photographer uses the camera’s metering mode—matrix, center‑weighted, or spot—to gauge scene brightness. The histogram then shows the tonal spread: a left‑skewed curve signals under‑exposure, a right‑skewed curve indicates over‑exposure, and a balanced curve means proper exposure. Adjustments are made by changing aperture, shutter speed, or ISO. Opening the aperture (lower f‑number) increases light and deepens depth of field. Slowing shutter speed extends exposure time, capturing motion blur or compensating for low light. Raising ISO boosts sensor sensitivity, useful in dim conditions but adds noise. After each tweak, the photographer reviews the histogram and metering readout to confirm the desired exposure, contrast, and tonal range while keeping noise acceptable. By iterating this process, the photographer gains precise control over creative and technical aspects of the shot.
If the histogram shows clipping at the top, lower exposure by adjusting shutter speed or aperture, or apply exposure compensation to dial back the camera’s automatic calculation. Conversely, a bottom‑heavy histogram suggests under‑exposure; increase ISO or open the aperture to remedy it. The camera’s exposure lock (AE‑lock) lets you freeze the current exposure reading while moving to a different part of the scene, ensuring consistent exposure across multiple shots. Displaying the histogram in real‑time on the viewfinder or LCD provides instant feedback. Comparing successive histograms helps track the impact of each adjustment, enabling quick convergence on optimal exposure and reducing guesswork in challenging lighting. Precision matters. Always.!!!